Local Vikings is a software tool designed to help businesses manage their Google My Business (GMB) listings. It offers a range of features to optimize GMB listings, including review monitoring, automated review responses, bulk location management, and analytics tracking. Local Viking allows businesses to manage multiple GMB listings from one dashboard, making it a convenient tool for businesses with multiple locations. It also offers a free plan with limited features, as well as paid plans with more advanced features. Overall, Local Viking helps businesses improve their online presence and attract more customers through their GMB listings.
Local Viking offers a range of features to optimize GMB listings and improve a business's online presence. Some of the key features of Local Viking include:
-
Review monitoring: Local Viking allows businesses to monitor their GMB reviews in one place. It sends alerts when new reviews are posted and allows businesses to respond to reviews directly from the dashboard.
-
Automated review responses: Local Viking offers a feature that allows businesses to automatically respond to GMB reviews with pre-written responses. This feature can save businesses time and help ensure that they respond to reviews promptly.
-
Bulk location management: Local Viking allows businesses to manage multiple GMB listings from one dashboard. This is especially useful for businesses with multiple locations, as it allows them to update information, respond to reviews, and track analytics for all of their listings in one place.
-
Analytics tracking: Local Viking provides analytics tracking for GMB listings, including data on impressions, clicks, and website visits. This allows businesses to track the performance of their GMB listings and make data-driven decisions to improve their online presence.
Logging In and Syncing Accounts
- Create an account: Go to the Local Viking website and sign up for an account. You will need to provide your name, email address. After signing up, you will receive a confirmation email with a link to set up your password.
-
Log in: Once you have created an account, log in to your Local Viking dashboard by clicking on the "Log In" button on the website. Enter your email and password to access your dashboard.
-
Sync your accounts: Local Viking allows you to manage multiple Google My Business accounts from one dashboard. To sync your accounts, click on the "Add New Account" button in your dashboard. Follow the instructions to link your Google My Business account to Local Viking. You will need to provide your Google login credentials and grant access to your account.
-
Manage your accounts: Once you have synced your Google My Business accounts, you can manage them all from your Local Viking dashboard. You can view and edit business information, such as business hours, categories, and photos. You can also monitor your reviews, respond to messages, and track your analytics.
Navigating the Dashboard
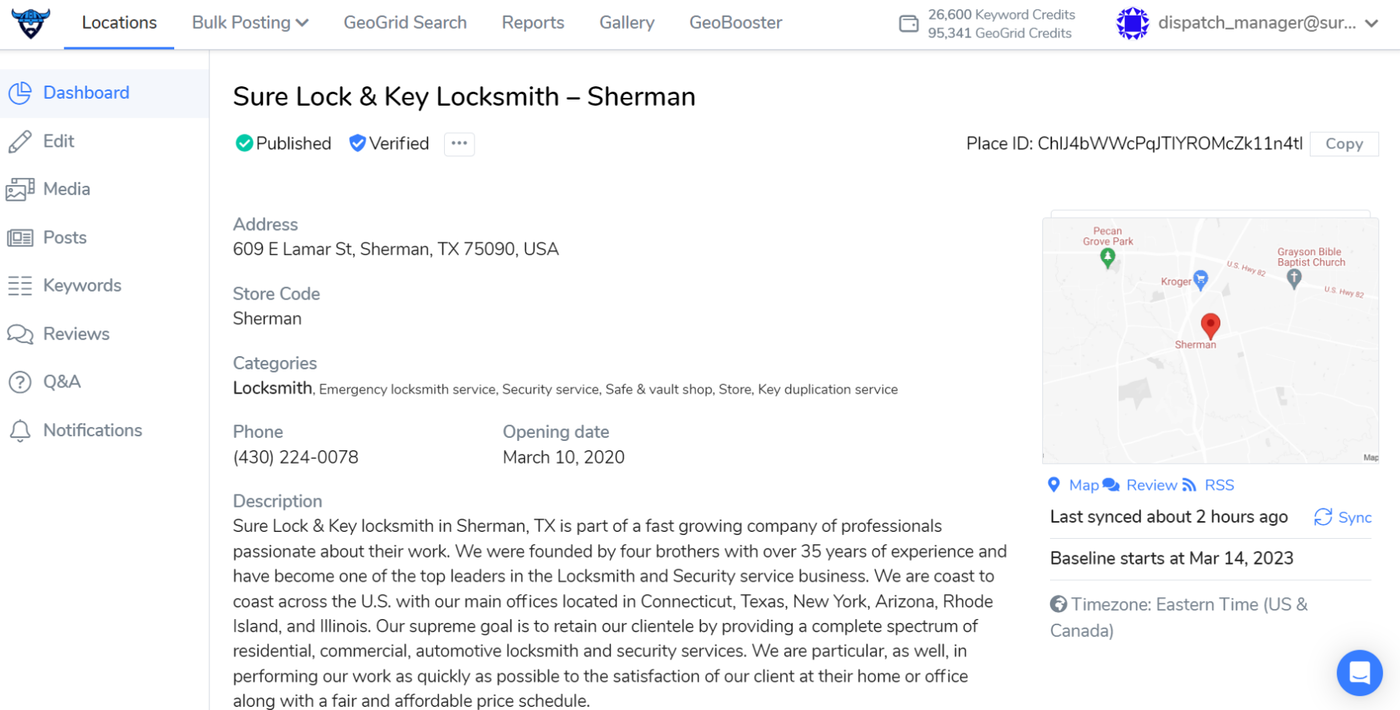
LOCATIONS. The first thing you'll notice is the "Locations" tab at the top of the page. This is where you can manage all of your business locations. Click on this tab to get started.

Scroll down the page to view all the locations for SureLockKey. Each location will have its name, address, and phone number listed.
To search for a specific location, use the search bar at the top of the page. Type in the name or address of the location you're looking for and press enter. This will filter the locations to only show the ones that match your search query.

To view more details about a specific location, click on the location name. This will take you to a page with more detailed information about the location, including its address, phone number, hours of operation, and other relevant details. On the location details page, you can also edit or update information about the location. To do this, click on the "Edit" button next to the location name. This will take you to a page where you can edit the location information, including its name, address, phone number, hours of operation, and other relevant details.
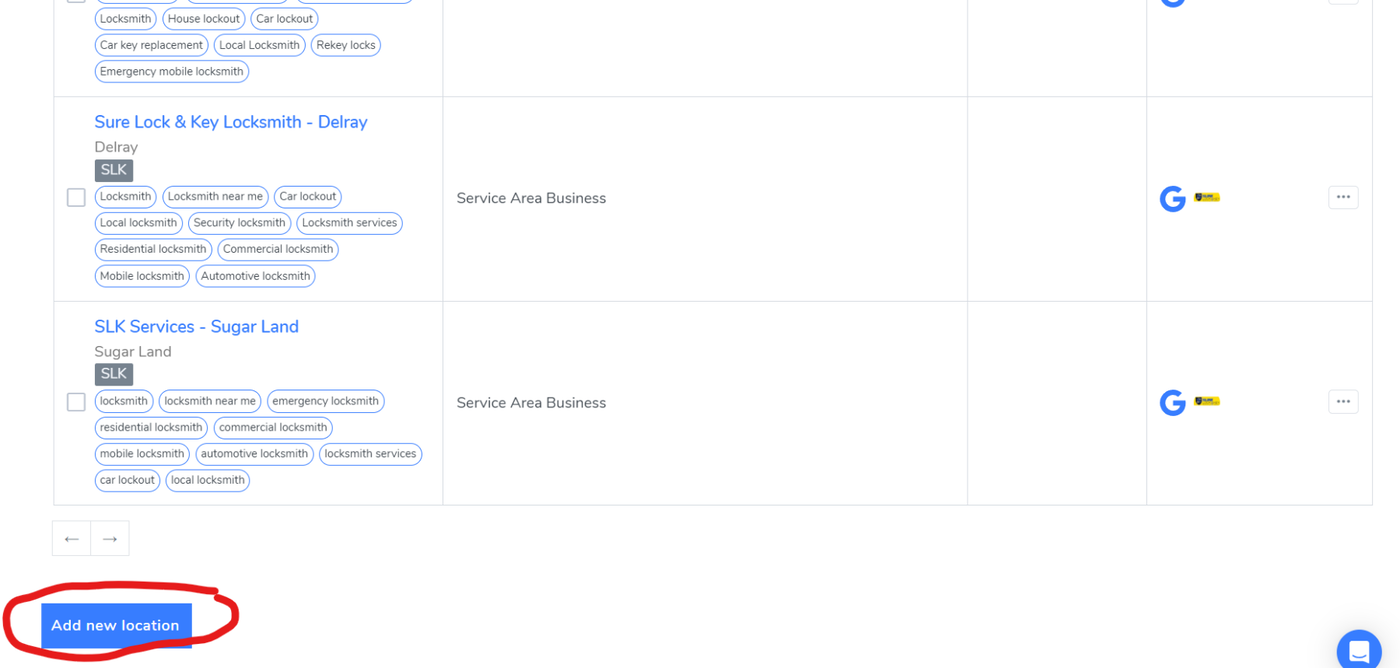
If you want to add a new location, click on the "Add New Location" button at the top of the page. This will take you to a form where you can enter the location details, including its name, address, phone number, hours of operation, and other relevant details.
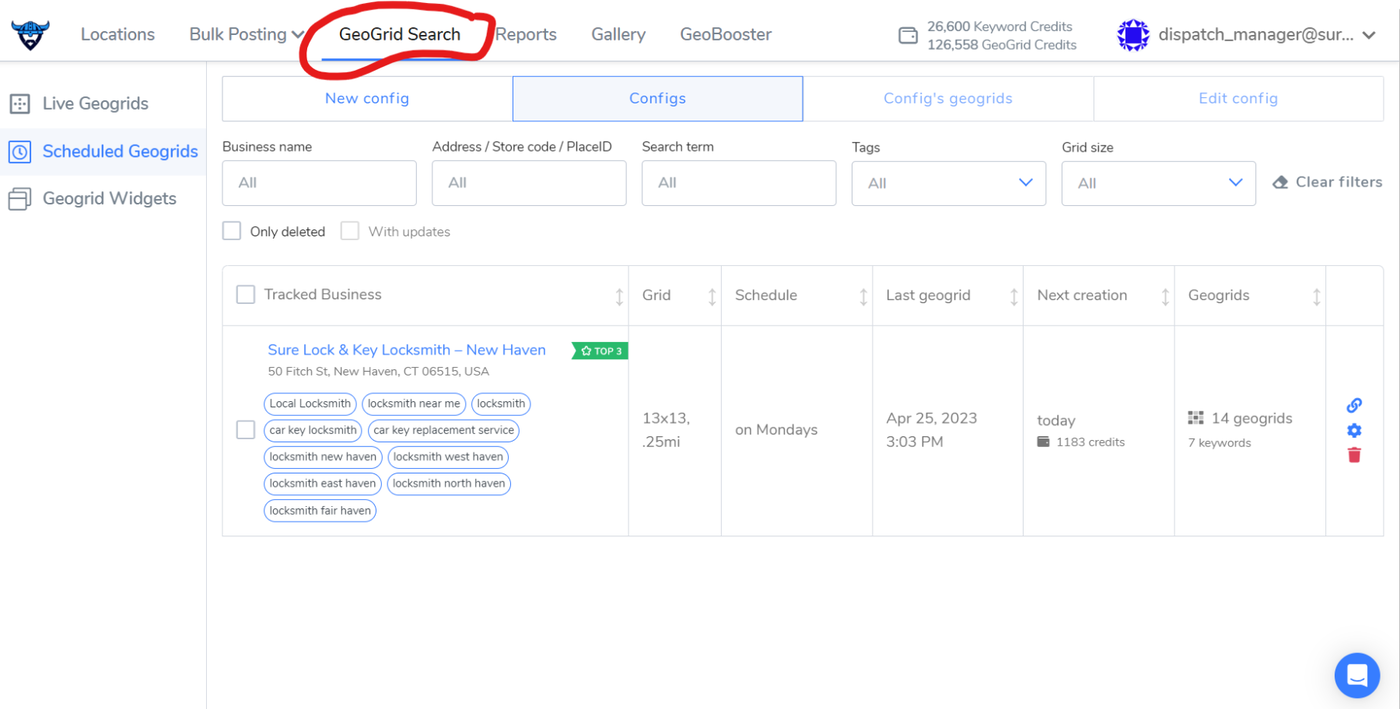
GEOGRID.
The "Geo Grid" tab in Local Viking allows you to track keyword rankings for multiple locations within a specified geographic area.
-
Navigate to the "Geo Grid" tab in the dashboard.
-
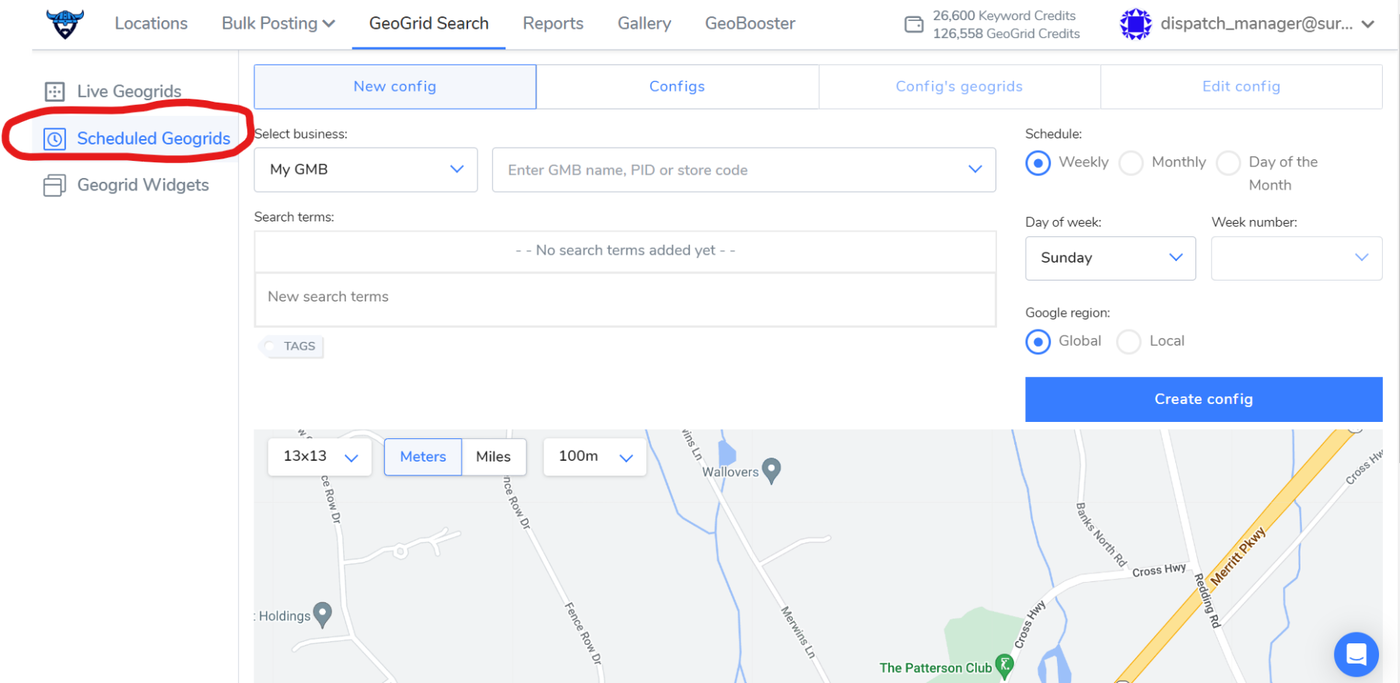
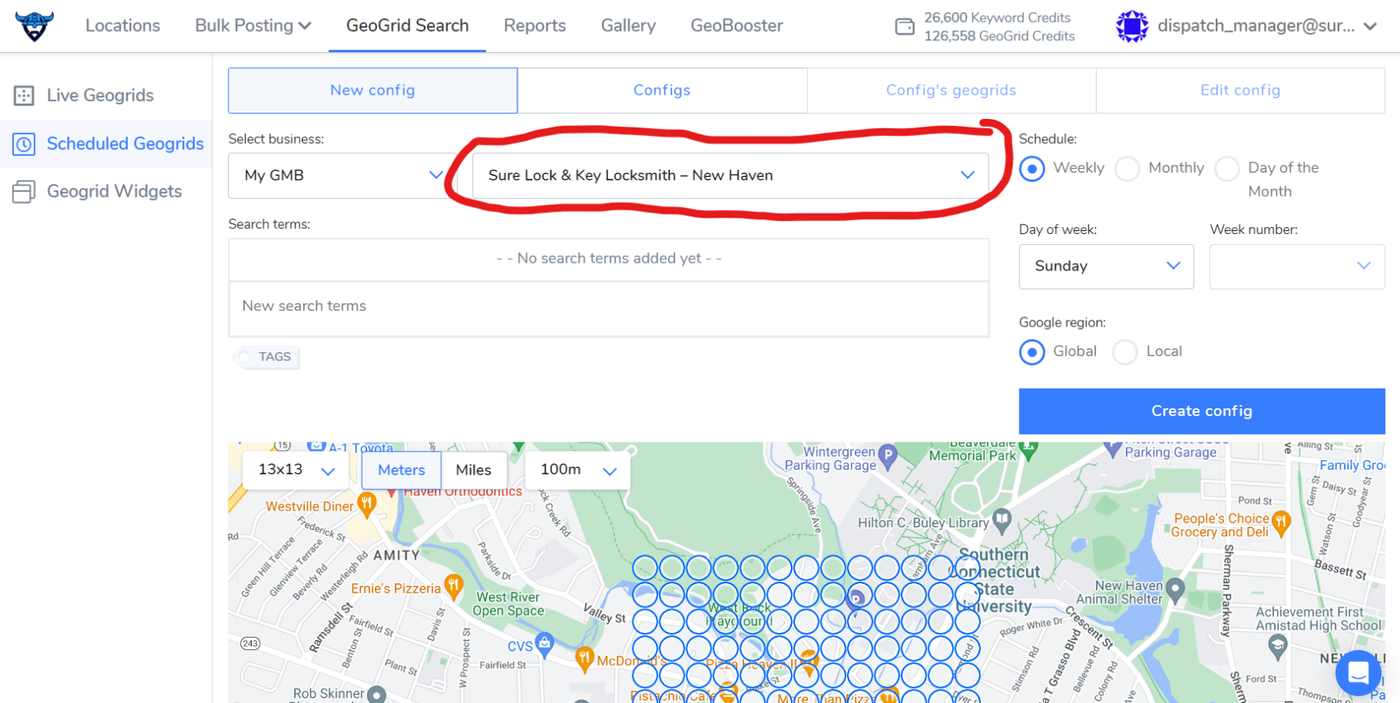
Click on the "New Geo Grid" button to create a new geo grid report.(Use just scheduled Geogrids)
-
Enter the address of the central location you want to analyze.
-
Choose the search engine you want to analyze, for us its Google.
-
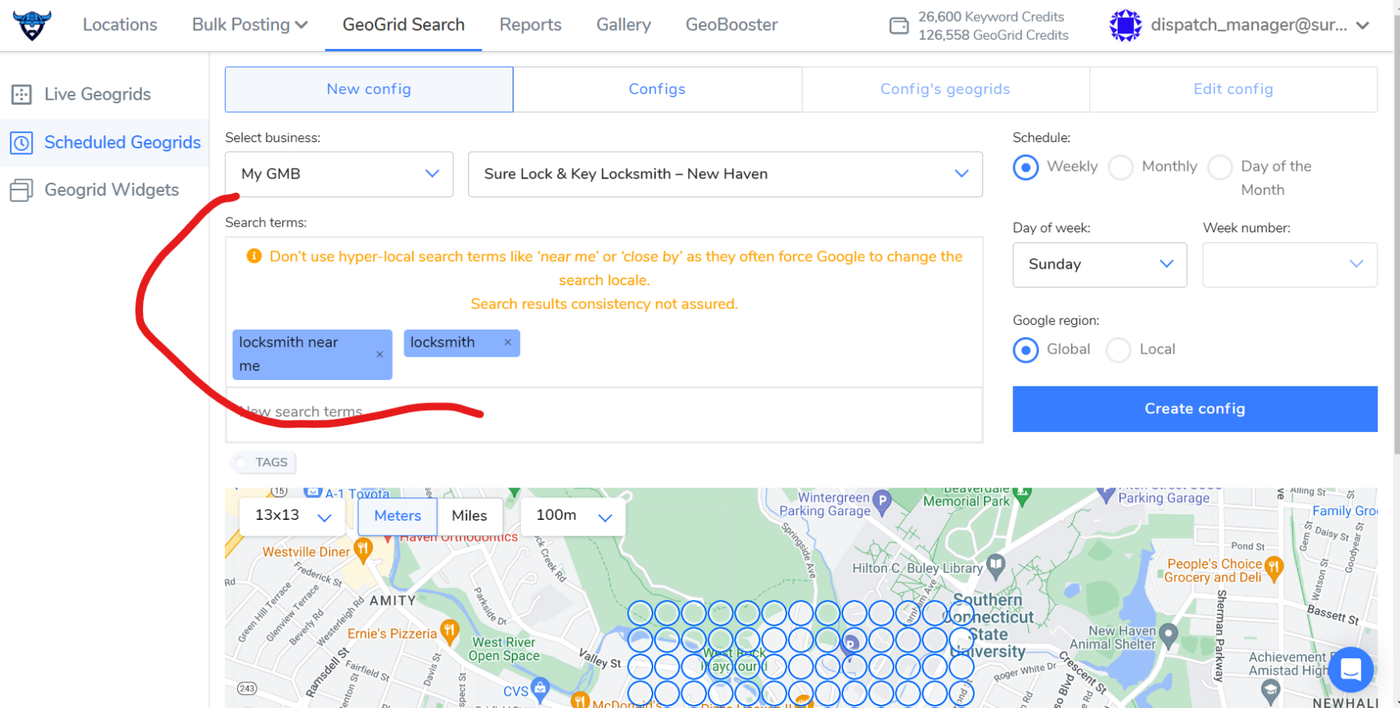
Enter the keywords you want to track for the location in the "Keywords" field. You can enter multiple keywords separated by commas.
-
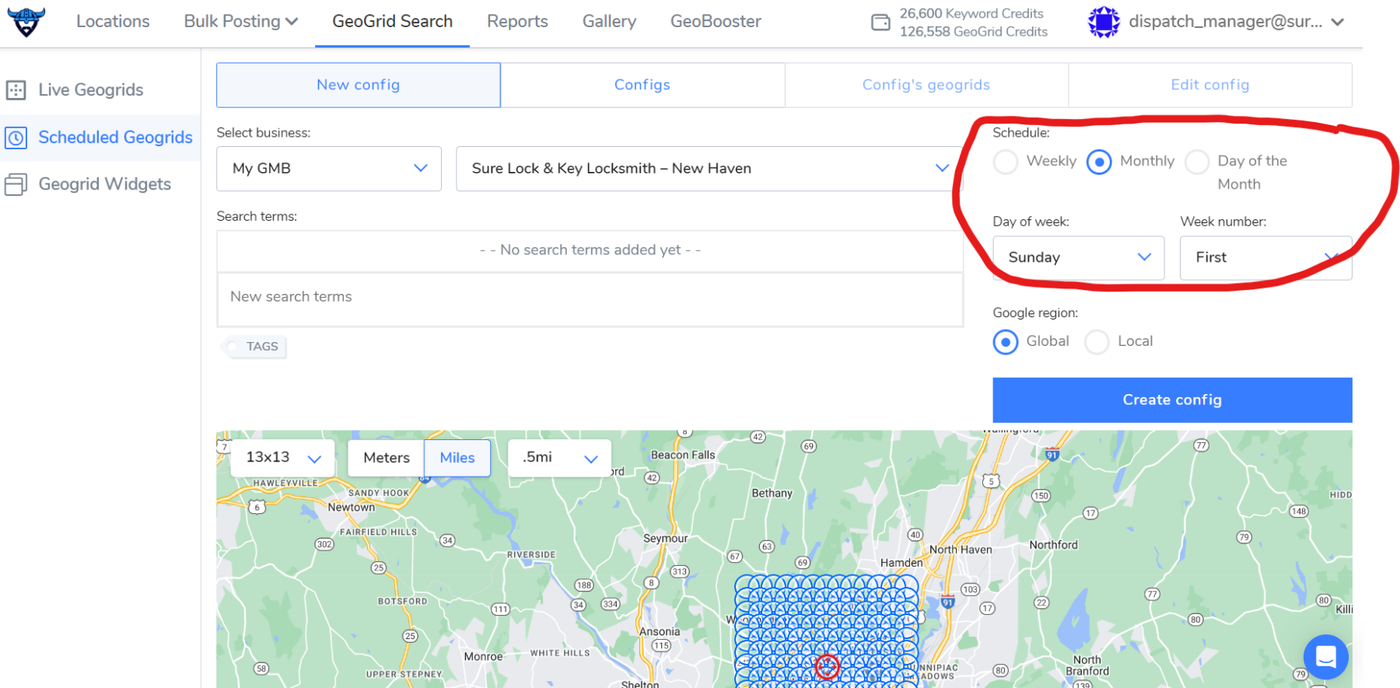
Choose the radius you want to analyze around the location, in miles or kilometers(we prefer in miles). This will determine the geographic area that your report will cover.

- Choose how often you want to have the reposts created
-
Once you've entered all the necessary information, click the "Create" button to run the geo grid report.
The report will show the top search results for each keyword in the specified radius around the location, along with important data such as the rank, URL, and title. We use this information to evaluate the performance of the website and find the areas for improvement in search results.
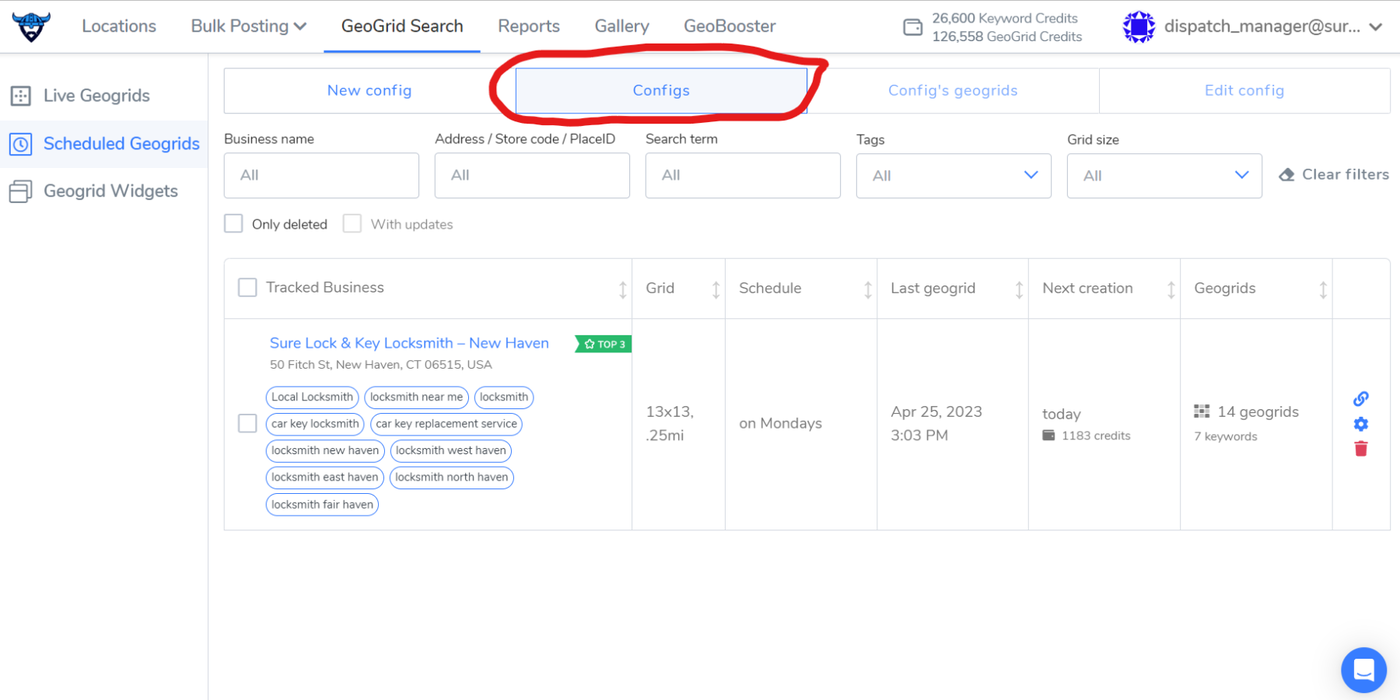
- Created Geogris you can find in Tab "Configs"
-
You can view the geo grid report in the Local Viking dashboard, and export it as a CSV file for further analysis or reporting.
Keyword and GeoGrid Credits
Keyword and geo grid credits are two types of credits used in Local Viking to track and analyze keyword rankings and local search results. Keyword and geo grid credits are separate from each other, so tracking a keyword for a location will not use any geo grid credits, and vice versa.
- Keyword credits
Keyword credits are used to track keyword rankings for a specific location. Each time you track a keyword for a location, it will use one keyword credit.
-
Geogrid credits
Geogrid credits are used to analyze local search results for a specific area. Each time you run a geo grid analysis for an area, it will use one geo grid credit.
You can view your current credit usage and remaining credits in the Local Viking dashboard. Simply click on the "Keyword Credits" or "Geo Grid Credits" section to view your usage and remaining credits.

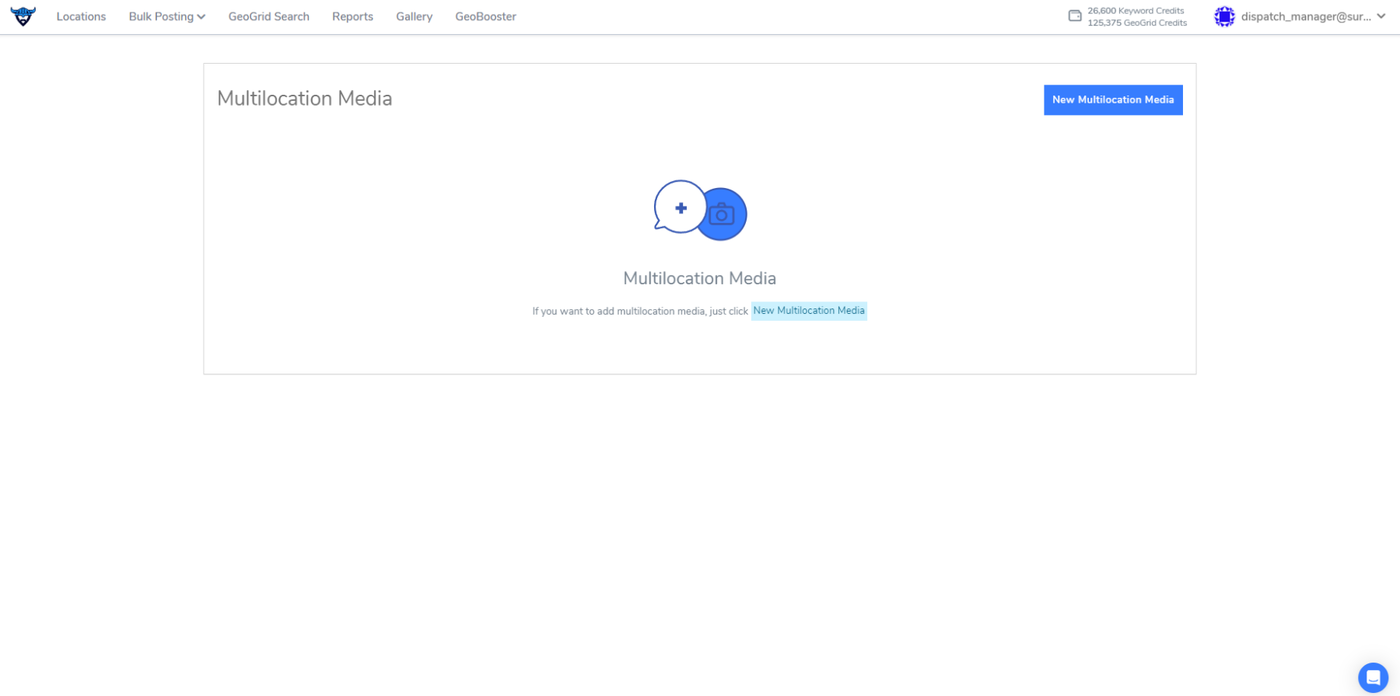
BULK POSTING.
The "Bulk Posting" tab in the Local Viking dashboard allows you to create and schedule posts for multiple Google My Business locations
- You can chooche between media and posts

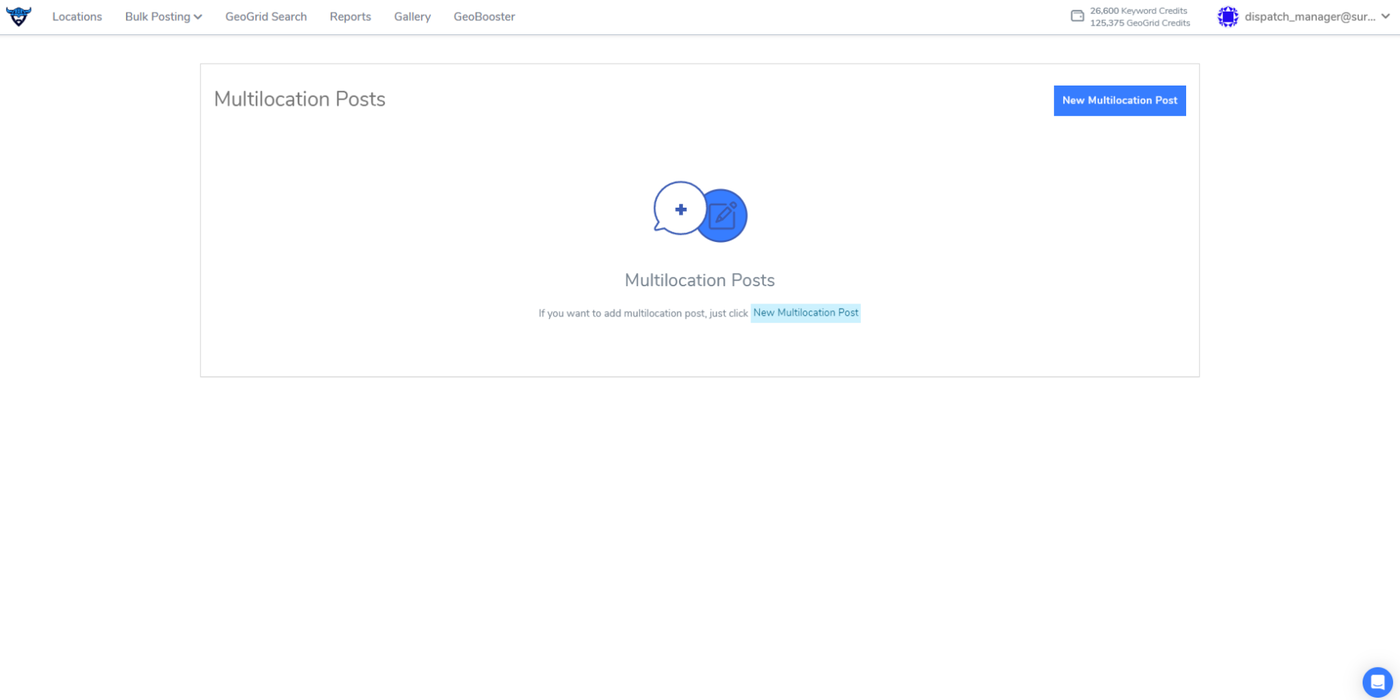
- Select the locations you want to post to. You can select individual locations or choose all locations. You can also filter locations by tags.
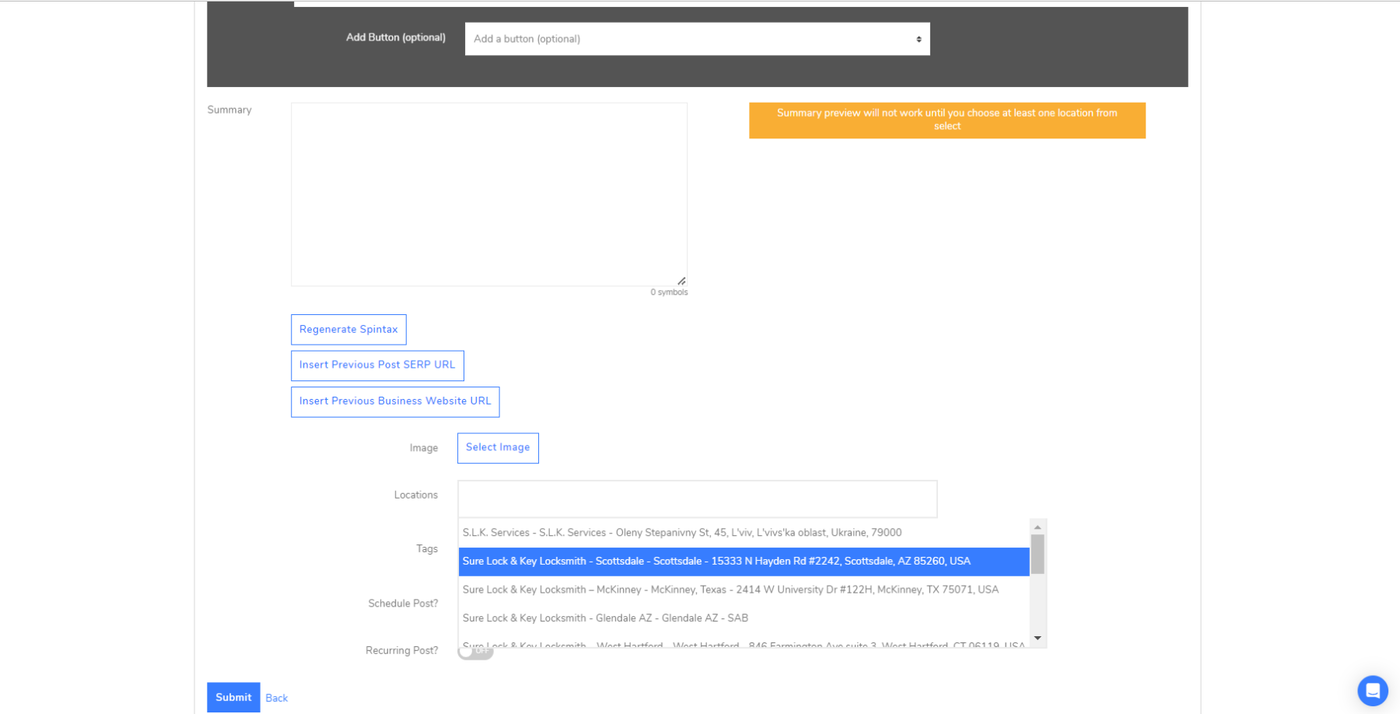
-
Select the type of post you want to create. You can choose from a variety of post types, including offers, events, products.
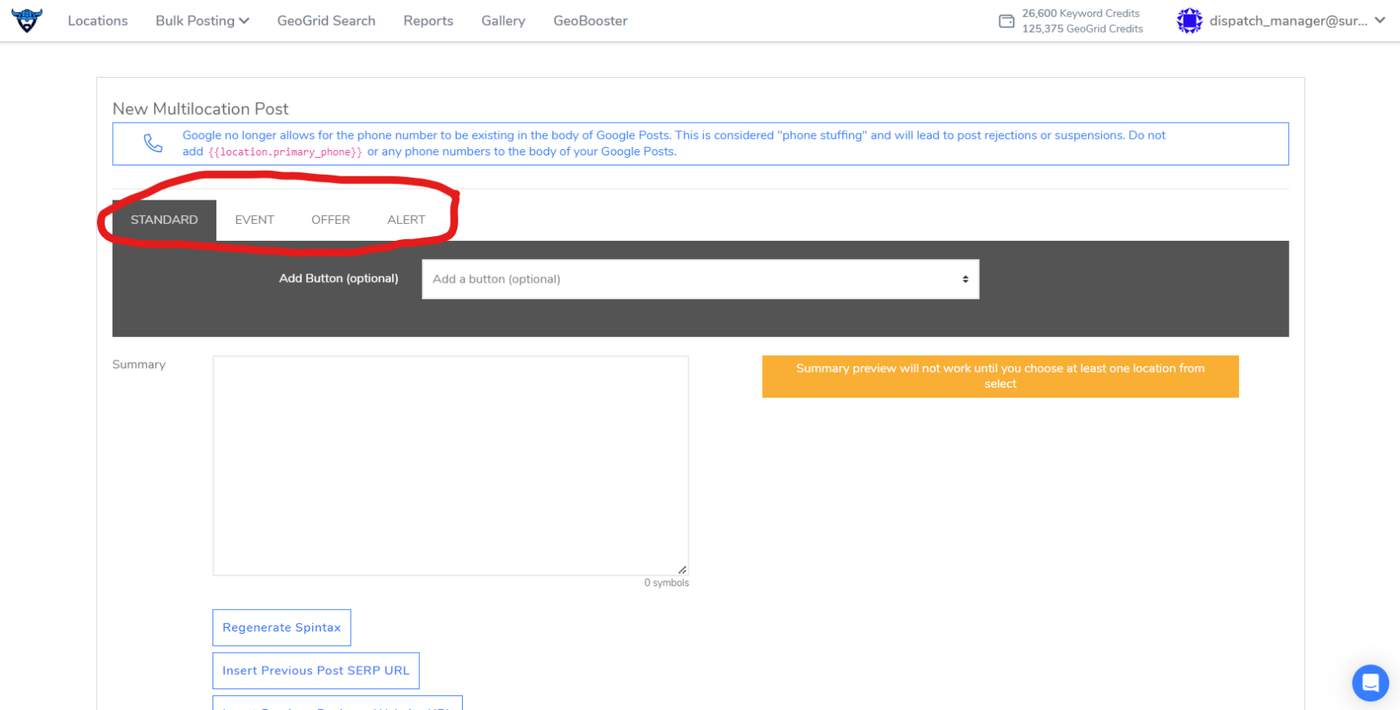
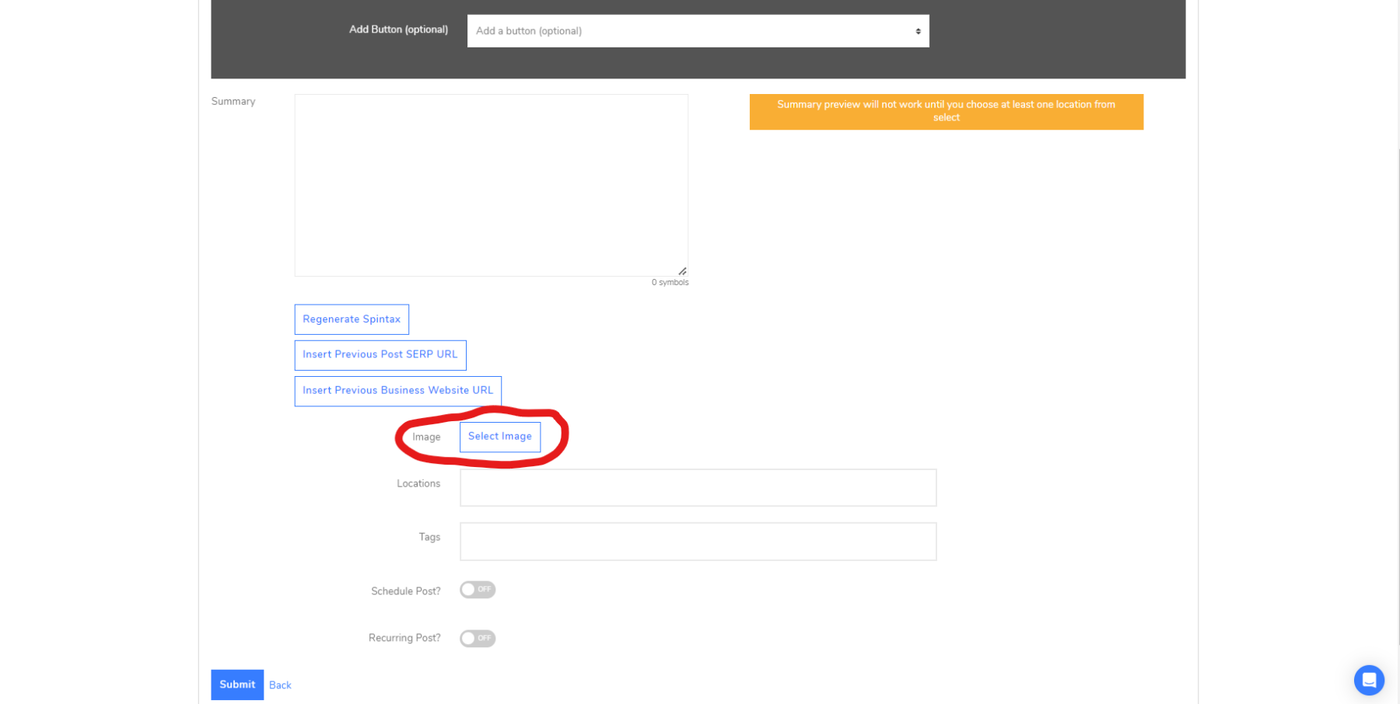
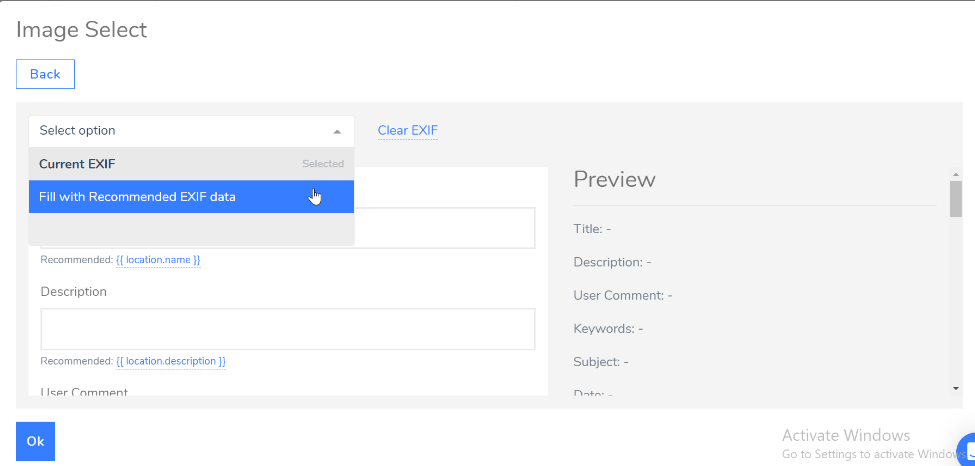
- Once you have selected your post type, you can add text, images, and links to your post.
-
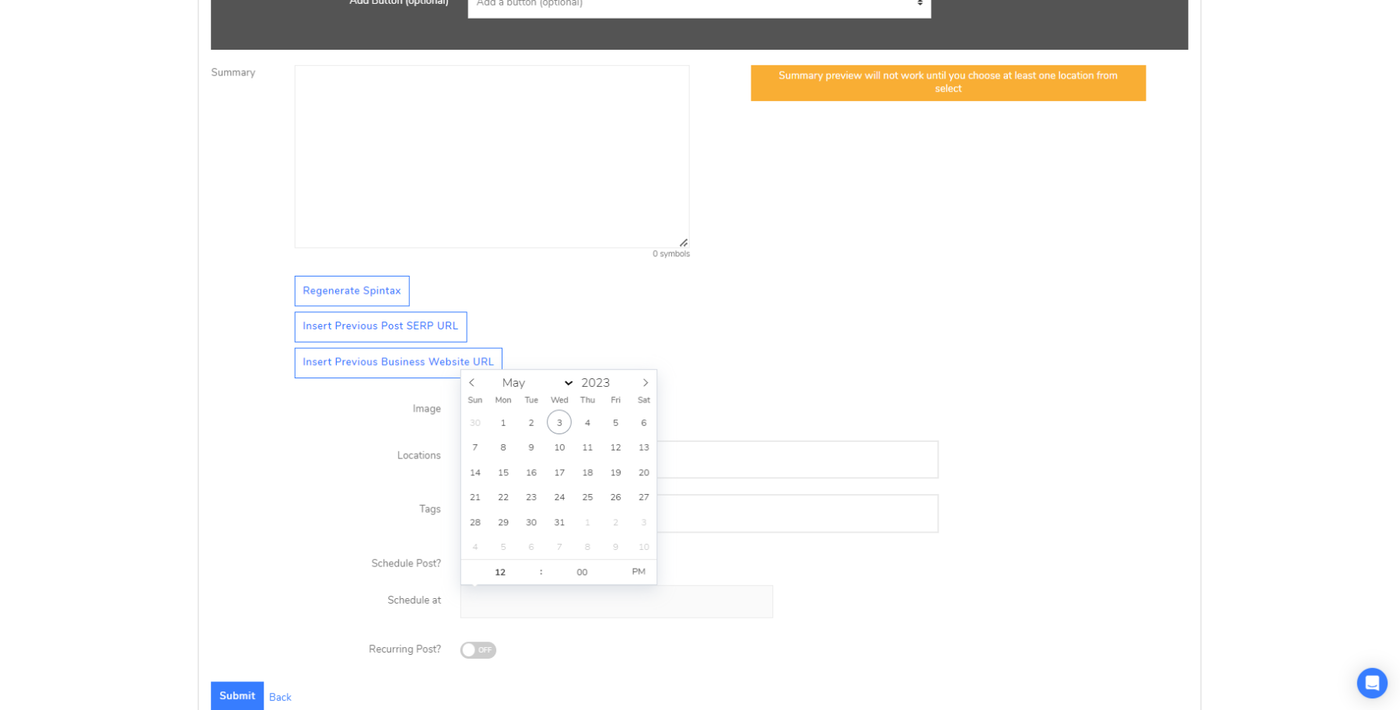
Once you have created your post, you can schedule it for a specific date and time. You can schedule posts for individual locations or for multiple locations at once.
-
Once you are satisfied with your post, you can publish it to your selected locations with a single click. Local Viking will automatically publish your post according to your chosen schedule, ensuring that your posts reach your target audience at the right time.
